Laboratory Shaker 101: Use, Installation, and Maintenance

What is a laboratory shaker?
A laboratory shaker is a piece of laboratory equipment that is commonly used in a variety of shaking and mixing procedures. It is used in many industries such as food and beverage, cosmetics, pharmaceuticals, and labs dealing with life sciences and biotech.
There are many types of laboratory shakers on the market today, some of which are named and classified based on the type of motion they exhibit. These include reciprocating shakers, rockers, rolling devices, rotating shakers, and orbital shakers.
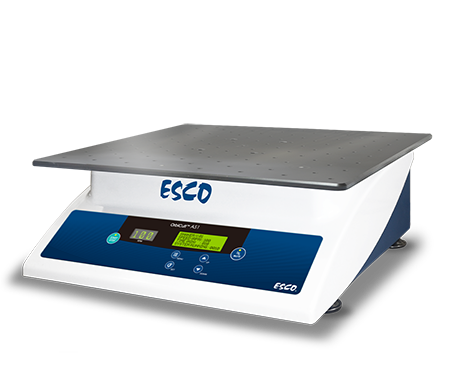
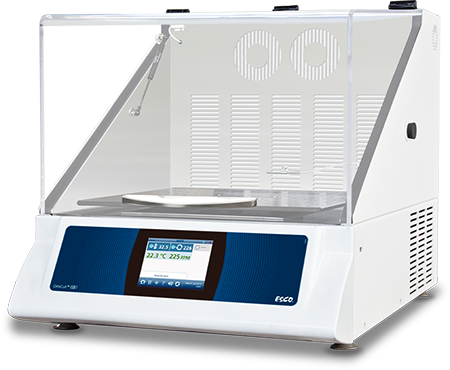
Esco Lifesciences manufactures two (2) types of tabletop orbital shakers:
What is the purpose of an orbital shaker?
Orbital shakers are used in laboratories to mix or agitate samples and solutions within tubes, plates, and flasks.
How do orbital shakers operate?
An oscillating board that rotates in a circular motion while holding the vessels and mixing the contents of the vessels makes up the mechanism of an orbital shaker.
What are the applications of orbital shakers?
An orbital shaker is ideal for various general-purpose shaking applications such as cell culture, bacterial growth and suspension, staining, and washing. Depending on what is needed, such as stimulating cell culture growth through agitation and applied temperature, Esco orbital shakers provide an ideal environment for the samples and meet certain sample requirements. The Esco orbital shakers are specifically designed with laboratory researchers in mind.






Bacterial growth and suspension
When accomplishing vital functions in suspension cell culture, aeration and nutrients are key factors to help the cells grow uniformly. To achieve this, constant agitation or shaking is needed, as it prevents the cell types from clumping at the bottom of the flask. Impurities settling at the bottom would lead to a lack of oxygen and nutrients, thus resulting in cell death.
Cell culture
When promoting cell culture growth, applying both heat and agitation to the samples creates an optimal environment. Orbital shakers are specifically designed for that function.
Extraction procedure
Extraction is done to isolate two immiscible liquids, commonly using selective solvents to separate the sample to be extracted. This procedure requires vigorous and uniform shaking, which orbital shakers can provide.
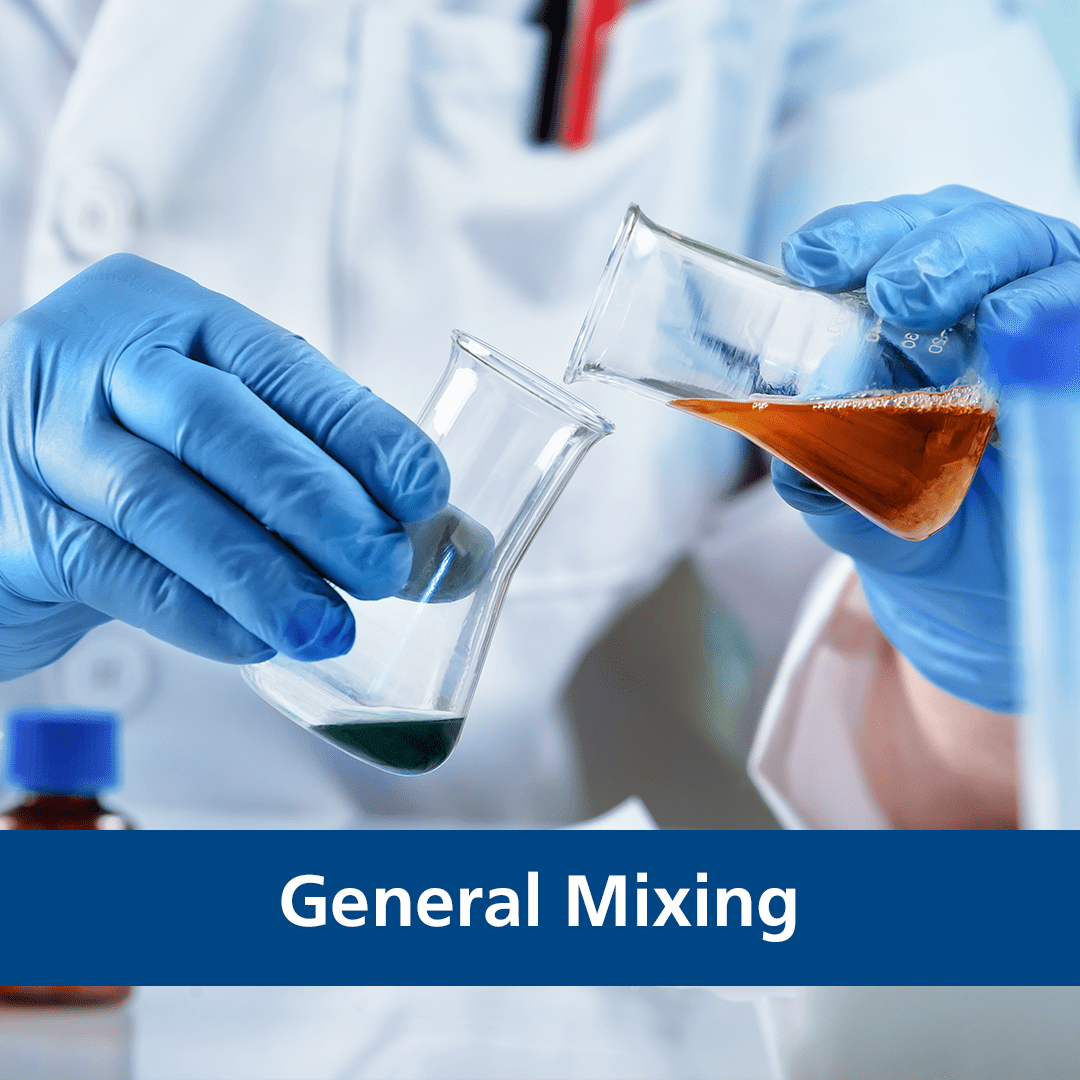
General mixing
Laboratory shakers are excellent for experimental procedures and requirements, particularly for ensuring homogeneous mixtures are produced.
Solubility testing
Solubility studies are regularly carried out for pre-formulation research, integral for drug improvements to identify solubilizing agents that provide optimal drug compatibility. Lab shakers are recommended for this since it requires reliable, accurate, and repeatable results.
Staining and washing
Orbital shakers are ideal for staining and washing electrophoresis gels or any applications requiring mixing or agitation of solutions.
How to safely install a laboratory shaker
Here are some guidelines to ensure the safe installation of an orbital shaker and its accessories.
- Place the lab shaker on a level table or bench that can support the weight of the shaker and all associated accessories. Make sure the table or benchtop has a flat surface to avoid any imbalance issue of the unit during operation.
- Put the shaker near an electrical outlet that matches the unit’s nameplate requirements.
- Prior to installation, ensure there is enough clearance around the unit for free air convection.
- For open-air shakers, make sure there is enough space for the platform to move freely.
- For temperature-controlled shakers with hood, allow clearance for the hood to fully rise.
- The equipment is recommended to use a dedicated power source installed with protective grounding. The main power plug should be easily accessible and free of any obstructions.
- It is critical that the shaker is properly leveled. Most lab shakers include leveling feet that can be adjusted to level the unit. Adjust the feet to level the unit from front to back and left to right. To determine whether the bearing housing is completely leveled, place a bubble level on the center drive.
Installation of orbital shaker accessories
A. Platform installation
- Remove the shaker platform from its packaging, including the (4) M6 flathead screws.
- Align the four countersunk holes on the platform with the threaded holes in the top of the shaker drive housing.
- Insert the four Allen head platform screws and tighten them with a 4mm hex wrench to secure the platform.
B. Flask clamp installation
- Clamps are installed by screwing the clamp's base to the platform. All clamps are shipped complete with the required hardware.
- To install the clamps, first align each clamp with the hole pattern in the platform, ensuring that the flasks will not touch each other once the clamp is installed.
- Make sure that all flasks do not exceed the platform perimeter.
- Try to arrange the flasks in such a way that the load is symmetrical about the center of the platform to optimize the shaker balance.
- Once the layout is completed, tighten all clamps to the platform using the included screws and a Philips head screwdriver.
C. Test tube rack installation
- To install the test tube rack, loose the two knobs on both sides of the rack.
- Pull up the test tube rack out of the base.
- Align the test tube rack base screw holes on the platform. Insert each Pan Head Philip screws M5x10mm and tighten them with a hex wrench to secure the holder on the platform.
- Put the test tube rack holder back into its base and then tighten the two knobs of both sides of the rack.
D. Microplate holder installation
- To install the microplate holder, loose the two knobs on both sides of the holder.
- Pull up the microplate holder out of the base.
- Align the microplate holder base screw holes on the platform. Insert each Pan Head Philip screws M5x10mm and tighten them with a screwdriver to secure the holder on the platform.
- Put the microplate holder back into its base and then tighten the two knobs on both sides of the rack.
E. Utility carrier installation
- To install the utility carrier, align all screw holes on the platform.
- Insert the five Countersunk Philip screws M5x16mm and tighten with a screwdriver to secure the carrier.
- Open or close the knobs by twisting them to adjust the rods.
Cleaning and maintenance of an orbital shaker
Cleaning and maintenance of orbital shakers are critical to ensuring their smooth operation and avoiding unnecessary malfunctions or unexpected downtimes, so following the maintenance schedule outlined below is recommended.
General Maintenance Checklist
| Tasks to Perform | Maintenance to be carried out every | ||
|---|---|---|---|
| As Needed | Weekly | Yearly | |
| Cleaning the external and internal surfaces | ✓ | ||
| General inspection | ✓ | ||
| Calibration of speed | ✓ | ||
| Calibration of temperature* | ✓ | ||
| Decontamination | ✓ | ||
Note: Always turn off the lab shaker and disconnect the power cord from the power supply before performing any maintenance.
Cleaning the external and internal surfaces
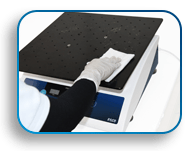
- Use a cloth dampened with water or any standard, household, or laboratory cleaner to wipe down the platform and housing of the lab shaker.
- Avoid cleaning the equipment with abrasive or corrosive compounds, as these may damage the shaker and void the warranty.
General inspection
The following items should be performed regularly at least once a year by trained service engineers.
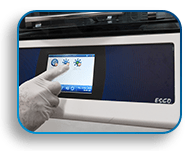
Touchscreen and device control functional check
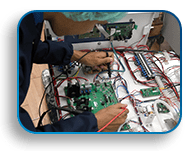
Electrical safety checks in accordance with the relevant regulations
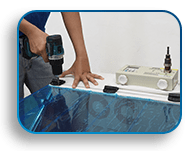
Examining the hinge screws on the hood and other shaker moving parts
Calibration of speed and temperature
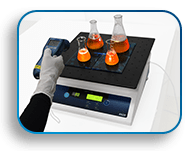
Speed Calibration
Calibration is recommended at least once a year to ensure the laboratory shaker's continuous and optimal performance.

Temperature Calibration*
Keeping the device calibrated allows for accurate speed and temperature settings during operation, which is particularly necessary for sensitive samples
*Applicable to lab shakers with temperature control only.
Decontamination
- Commercially available bleach solutions diluted at 1:10 ratio is effective in routine decontamination of the shaker.
- The decontamination method for spills depends on the type of spill.
- Spills involving fresh cultures or samples with low biomass concentrations should be soaked in a decontamination solution for 5 minutes before cleaning.
- Spills with high concentrations of biomass or organic matter, or those that occur in areas warmer than room temperature, should be exposed to a decontamination solution for at least an hour before cleanup.
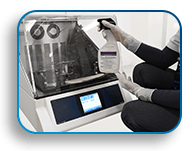
Note: Personnel involved in the cleanup of any spill should wear applicable safety equipment such as gloves, safety glasses, respirator masks, and a laboratory coat during the cleanup process.
Regular testing and maintenance should be performed on lab shakers at least once a year to ensure their best performance and promote a longer lifespan. Trust in Esco Lifesciences to perform physical checks on the unit and calibrate the speed and temperature during lab shaker performance testing.
Planning for a laboratory shaker maintenance? Check the buttons below!
Read more: Orbital Shaker Services, Guide: How to Choose the Right Orbital Shaker
