From Installation to Maintenance:
A Complete Guide to PCR Cabinets
What is a PCR cabinet?
PCR cabinets, also known as polymerase chain reaction cabinets, are specialized laboratory enclosures designed to provide a sterile and controlled environment for performing PCR experiments. They help prevent contamination and maintain the integrity of samples and reagents by utilizing HEPA filters and airflow systems. PCR cabinets are essential for ensuring accurate and reliable results in molecular biology research and diagnostic applications.
Esco Lifesciences manufactures reliable PCR cabinets, designed with precision and advanced features for optimal performance and sample protection.
Streamline®

SCR-_A_
Airstream®

PCR-_A_
Suitable Uses of PCR Cabinets
PCR cabinets are typically used in reagent, PCR master mix preparation, and UV decontamination of PCR supplies and materials. They are commonly found in various industries where PCR techniques are utilized. Some of the industries where PCR cabinets are commonly used include:


Installation Guidelines for a PCR Cabinet
Safe installation of PCR cabinets is crucial. It reduces accidents, prevents damage, and minimizes electrical hazards. Following guidelines and ensuring proper grounding create a secure environment, protecting personnel and promoting overall laboratory safety.
Outlined below are the key requirements for PCR cabinet installation.
Location requirements
The PCR cabinet needs to be placed in a location that does not compromise the performance of the unit.
Based on Figure 1, the cabinet's internal airflow is relatively slow compared to potential disturbances caused by opening a door, a person passing by, or direct exposure to an air-conditioning outlet. These external airflow disturbances can affect the containment of the cabinet. Therefore, it should be located as far away as possible from sources of airflow disturbance and in an orientation which optimally shields the cabinet’s airflow from all external airflow disturbances. There should be adequate SOP in place to minimize events that will affect the performance of the cabinets.

Figure 1.
In Figure 2, the diagram illustrates various possible influences that can be induced by a room’s design and ventilation system on the PCR cabinet’s laminar airflow. Please note that the diagram below does not depict any typical installation. In fact, it is NOT recommended that so many cabinets be placed in a small room, or near each other.
- Cabinet 1 is situated in a suitable position to effectively minimize excessive air movements originating from the surrounding areas.
- The proximity of Cabinet 2 to the doorway is too close, and its airflow could be influenced by the adjacent supply diffuser.
- The airflow within Cabinet 3 can be affected by the presence of the supply diffuser.
- The proximity of Cabinet 4 to the doorway is too close.
- Cabinet 5 is appropriately positioned as long as the nearby return air grille does not impact the airflow within the cabinet.

Figure 2.
Environmental Requirements
- Indoor use only.
- Altitude reaching a maximum of 2,000 meters (6,600 feet).
- Relative humidity between 20% – 90%.
- Main supply voltage fluctuations up to ± of the nominal voltage.
- Transient voltages up to levels of Overvoltage Category II.
- Temperature between 18°C – 30°C (65°F – 86°F).
- Pollution Degree 2.0
The pollution degree indicates the level of conductive pollutants in the operating environment. In pollution degree 2.0, the assumption is that the environment primarily consists of non-conductive pollutants like dust, with occasional conductivity due to condensation.
Electrical Requirements
- The cabinet should be connected to its own dedicated power outlet.
- The power cable is located on the right-hand side of the cabinet and is 3 m long. When preparing the installation site, try to ensure that the outlet is located to the right of the cabinet for ease of access.
- The cabinet’s maximum voltage fluctuation is ±2% of the nominal voltage. Therefore, where voltage fluctuation is higher, equipment such as voltage regulator or UPS with appropriate features is recommended.
- For improved protection, it is strongly advised to utilize surge protection and UPS. Uninterruptible Power Supply (UPS) with power stabilization function could also be used to eliminate or minimize the voltage fluctuation seen by the cabinet. Where UPS is installed, it is recommended that the UPS is sized to enable the PCR cabinet to operate for about 20 minutes to provide ample time for the personnel to react to the power failure.
Note: A reliable protective earth connection is recommended for better operation and safety.
Unpacking and Moving the Cabinet
- Check the packing labels and delivery notes before unpacking to ensure that the correct consignment has been delivered.
- Put all packing materials on one side and retain them. You may need them to repack the unit if anything untoward is discovered with the unit during installation.
- Cut the retaining straps and remove the stand (if purchased). This will require at least two people.
- Remove the shrink wrap from the outside of the main carton and dispose of it carefully.
If it has not been done yet, remove the retaining straps. Then remove the top of the packing carton.

Figure 3. Removing the strapping
- Remove the cardboard outer from the unit by sliding it up and over the unit.
- Remove the shrink wrap from around the polystyrene panels and dispose of it carefully.
- Remove all the polystyrene, cardboard, and styrofoam packing materials and place them with the outer carton.
- Cut the inner shipping straps and eliminate the large protective plastic bag.
- There is a protector on the top of the unit (cardboard sheet), remove this before activating the unit.
- Take out the carton containing the manuals, toolkit, and retrofit kits and place it safely to one side.
- Remove any available work area shipping supports.
- Remove the protective plastic coating on the stainless-steel worktop.
- The cabinet may be fastened to the skids on the shipping pallet with two braces – one on each side. If so, unbolt the cabinet from the skids and remove the braces.
- At this point you should assemble the stand as per the instructions provided.
- Using a mechanical lifting truck, the cabinet should be positioned over the stand, the stand offered up to the cabinet, and the bolts fastened. After the stand is fastened to the cabinet, lower the assembly to the ground slowly.
- Check that all bolts have been fastened adequately and then move the cabinet to its final position. The side panel is not designed as a structural component and should not be utilized for lifting the cabinet. Lift using the back edge and corners.
Preliminary Cleaning
Wipe the interior and exterior parts of the cabinet with water or mild household detergent. The compatibility of the cleaning agent should be verified.
Performance Validation/Certification
Before using a newly installed cabinet, performance must first be validated and certified to factory standards. It is advisable to have the validation and certification of PCR cabinets carried out exclusively by trained professionals who are well-versed in the relevant methods and procedures.
The testing methods and equipment needed for carrying out the tests are specified in the test report accompanying the cabinet.
PCR Cabinet Maintenance Procedures
PCR cabinet maintenance procedures are implemented to proactively prevent unexpected downtimes and failures. By conducting routine maintenance and performing regular inspections, potential issues can be detected early on. This allows for timely troubleshooting and repairs, ensuring that the cabinets remain in optimal working condition. The goal is to maximize the performance and reliability of the cabinets, minimizing the risk of disruptions to laboratory operations. By adhering to maintenance procedures, laboratories can maintain the functionality and efficiency of PCR cabinets, contributing to accurate and consistent experimental results.
Here are some of the maintenance procedures to follow for PCR cabinets:
-
a. Scheduled Maintenance
Table 1. Scheduled Maintenance Checklist
No. Description of Task to Perform Maintenance to be carried out every Day Week Month Quarter 1 Year 2 Years 1 Surface decontaminate the work zone ✔ 2 Cabinet power-up alarm verification ✔ 3 Clean the exterior surfaces of the laminar hood ✔ 4 Check all service fixtures (where present) for proper operation
✔ 5 Clean the cover ✔ 6 Replace Pre-Filter ✔ 7 Inspect the cabinet for any physical abnormalities or malfunction ✔ 8 Clean up stainless steel surfaces with MEK ✔ 9 Re-certification ✔ 10 Change UV Lamp (where present) ✔ 11 Change the fluorescent lamps ✔ -
b. Cleaning Procedure
- Begin by thoroughly disinfecting the work surface and walls using an appropriate disinfectant agent along with a solution of soapy water.
- For the cover, ensure it is properly cleaned by applying an appropriate disinfectant agent.
- Utilize a damp cloth to meticulously wipe the exterior surface of the cabinet, with special attention to the front and top areas, eliminating any accumulated dust.
- Conclude the cleaning process by rinsing with clean water to eliminate any remaining residue from disinfectant agents, soapy water, or glass cleaner.
When it comes to eliminating stubborn stains or spots on the stainless-steel surface, utilize MEK (Methyl-Ethyl Ketone). Afterward, ensure to promptly wash the steel surface with sterile water and a suitable liquid detergent. For washing, use a polyurethane cloth or sponge. Regular cleaning of the stainless-steel surface is essential to maintain its attractive factory-finished appearance.
-
c. Certification
Annual certification of PCR cabinets is necessary to mitigate the risk of unexpected malfunctions and safeguard users from potential hazards. It is comprised of a series of tests in accordance with the manufacturer’s specifications and relevant international standards.
Esco Lifesciences goes beyond manufacturing PCR cabinets and offers PCR Cabinet equipment services. In addition to high-quality cabinet production, Esco Lifesciences provides comprehensive services for PCR Cabinet equipment. This includes preventive maintenance, calibration, and certification, ensuring that the cabinets continue to perform at their best.
The Esco Services team conducts a series of tests for PCR cabinet certification, ensuring the safety of both samples and personnel. These tests include:
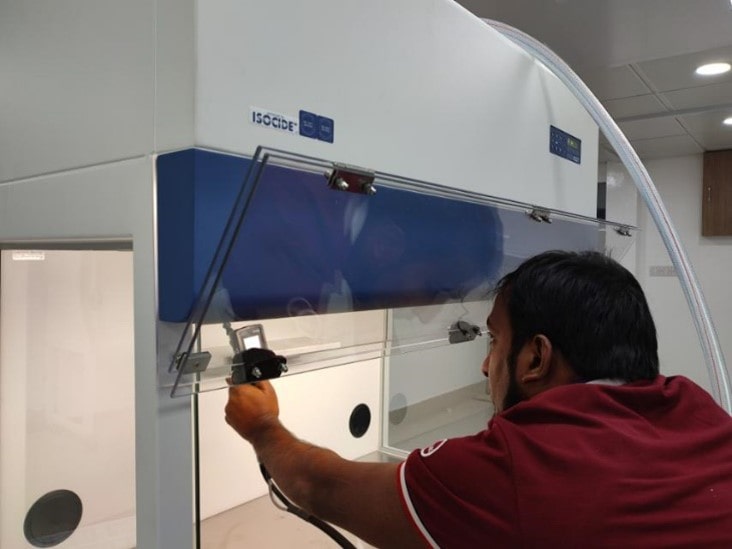
Esco engineer performs the filter integrity test.
Airflow Velocity
The airflow velocity test assesses the airflow exiting the cabinet, providing insights into the blower's performance.
Filter Integrity Test
The filter integrity test ensures that the filter remains effective by introducing particles and measuring the resulting output.
Particle Count Test
The particle count test examines the air quality in a controlled environment by quantifying and categorizing the particles present in the air, allowing for the classification of cleanliness levels.
UV Intensity Test
The UV intensity test measures the level of light intensity emitted by the UV lamp along the front-to-back centerline work surface of the cabinet.
Noise Level Test (optional for field testing)
The noise level test measures the sound level emitted by the cabinet while it is operating normally, focusing on the lower edge of the work surface area and the area above the recessed work surface.
Light Intensity Test (optional for field testing)
The light intensity test measures the level of light intensity emitted by a fluorescent/LED lamp, specifically from the front to the back center line of the cabinet's work surface.
By conducting these rigorous tests, Esco Services guarantees that PCR cabinets meet the necessary safety standards for reliable and secure laboratory operations.
Esco Lifesciences' proficiency in PCR cabinet manufacturing and servicing establishes the company as a trusted partner for laboratories. The comprehensive solutions provided by Esco Lifesciences ensure the maintenance of reliability and functionality in PCR Cabinet equipment, making the company a go-to choice for laboratories in need of dependable support.

Following installation guidelines guarantees optimal performance and safeguards against external airflow disturbances. Regular maintenance procedures help prevent unexpected downtime and detect issues early on, maintaining the cabinets' optimal performance. By prioritizing installation and maintenance, laboratories can create a safe and reliable environment for PCR experiments, promoting accurate and consistent results.
Read More: Esco Lifesciences PCR Cabinet Services, Quick Guide to PCR Cabinets