Guide to Cold Storage Solutions:
Proper Installation and Maintenance
Quick Links:
What is “cold storage equipment”?
A cold storage equipment is essential in a researcher’s life work. Different types of samples must be stored using appropriate techniques and storage temperatures to properly serve the needs of the research community. Once proper storage requirements are not met, these precious samples may be put at risk and eventually lead to sample spoilage and wastage. Hence, it is important to carefully choose the cold storage that can assure optimal product protection.
What samples are usually stored inside laboratory cold storage products?
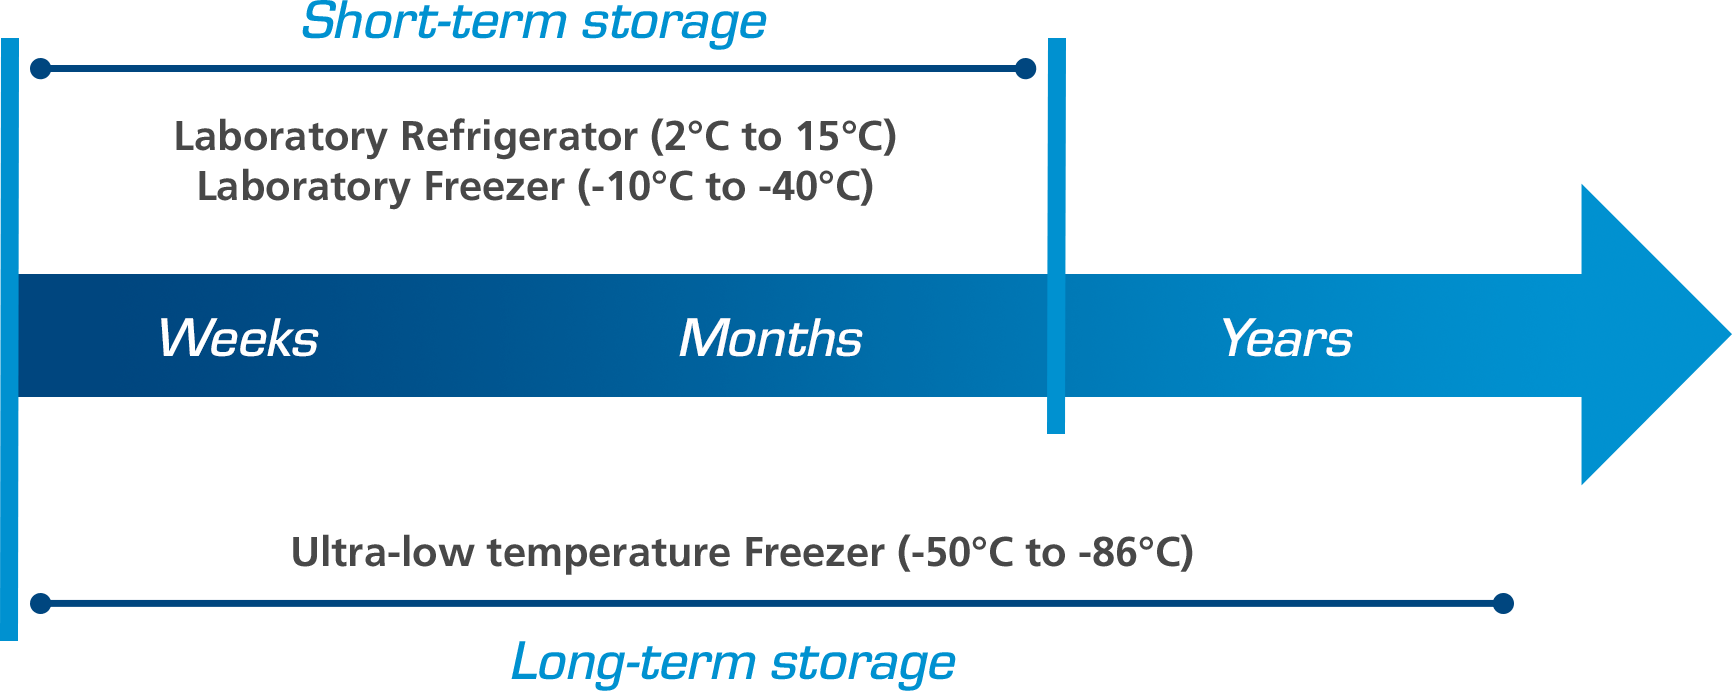
Preservation and protection of essential and irreplaceable temperature-sensitive products are critical factors in ensuring reliable results. Short-term storage, a matter of months, can be done in a Laboratory Refrigerator (2°C to 15°C) or Laboratory Freezer (-10°C to -40°C). Long-term storage should be done in an Ultra-low Temperature Freezer (-50°C to -86°C).
Samples for short-term storage and preservation in a Laboratory Refrigerator and Laboratory Freezer:

Samples for long-term storage and preservation in an Ultra-Low Temperature Freezer:

How to properly install laboratory cold storage products?
Following the checklist criteria when installing laboratory refrigerators, freezers, and ultra-low temperature freezers (ULTF) is a crucial step in making sure that the equipment is running well.
Installing a Laboratory Refrigerator or Freezer
- Install the unit in a vertical position to avoid contamination within the internal parts.
- Position the lab refrigerator or lab freezer keeping a minimum distance of 10 cm from all walls.
- The cold storage product must be in a sufficiently ventilated environment. Avoid exposure to direct sunlight and other heat sources.
- If necessary, adjust the leveling feet on the metal base.
- Remove the protective PVC film from the external surfaces of the machine. Clean the inside of the chamber with a cloth dampened with alcohol to eliminate the protective oil.
- The electrical system and connection must be set up by qualified personnel. Follow the instructions in the user and service manuals.
- Before turning on the appliance, it is necessary to check that it has not been damaged during transport, handling, and installation.
- Install the internal compartments such as shelves and drawers. Make sure to follow the specific instructions in the manual.
- Care must be taken when loading material to avoid malfunctions and allow air flow to ensure temperature uniformity inside the refrigerated compartment.
- Do not place material over the label indicating the maximum permitted loading level if present.
- Store material leaving a distance of at least 6 cm from the sides and at least 18 cm from the top of the compartment.
- Do not position material in contact with or near the temperature probes.
- Do not block air vents and pressure equalizing valve in HF3 models.
- The below instructions are provided to get the best equipment performance:
- The power supply must comply with the information provided on the technical data plate (±10%).
- The lab refrigerator and freezer have been designed and built to work in environments with temperatures falling within the climatic class temperatures indicated on the technical data plate and at a relative humidity of 60%.
- Do not block the motor compartment air vents.
- Load stored material gradually at ambient temperature to ensure proper refrigeration.
- Store material on shelves (or drawers). Do not place products directly on the bottom, or against the wall, doors, or fixed guards of the unit.
- Make sure the doors of the lab refrigerator or freezer are closed properly.
- Limit door opening frequency and duration. Each time the door is opened, the internal temperature will alter and there will be a possibility of ice formation on the evaporator.
- Keep the defrost water drain outlet clear.
- Follow a regular maintenance schedule.
Installing an Ultra-Low Temperature Freezer
- Install the unit on a firm and level floor in an indoor environment
- Allow at least 150 mm (6”) of open space on all sides from the sides, top, and rear.
- The location should be sufficiently ventilated so the heat from the unit can be removed from the area to prevent any potential overheating condition of the ambient temperature.
- Avoid installing a unit in an area with direct heat sources such as sunlight, heat radiator, etc.
- Install the Omega brackets
- Omega brackets are used to ensure that the required distance from the wall is maintained.
- Place the unit in its final position
- Use the levelling feet to ensure that the unit is leveled
- Install the shelf clips properly
- Install the shelves – ensure that all shelves are leveled
- Ensure that the access port on top of the unit is closed
- Connect the remote alarm contact for power failure to the remote/external alarm – ensure that they are properly connected
- Connect the remote alarm contact for high temperature to the remote/external alarm– ensure that they are properly connected
- Connect the power cable to the unit
- Install the power protection bracket
- Connect the unit to the power source using the power cable
- Switch on the power switch at the back of the unit
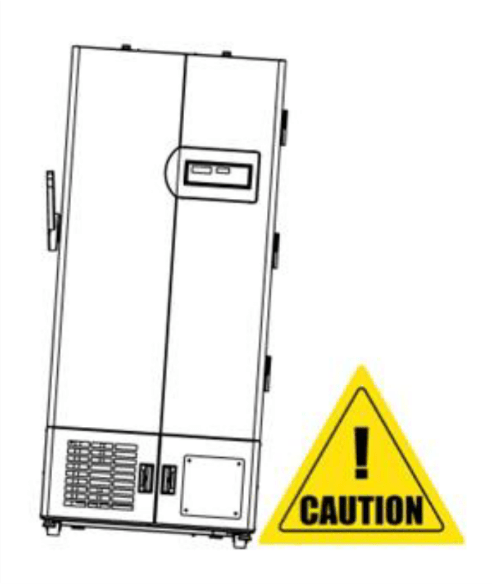
Make sure that all cold storage equipment are not positioned in a way that impedes access to the disconnecting device or circuit breaker in the back of the unit. Do not tilt for more than 10 degrees.
How to maintain the Cold Storage equipment?
Preventive maintenance is a schedule of planned service measures aimed at preventing unexpected downtimes and failures through routine maintenance and early detection of problems. It is a regular check-up for your cold storage equipment (lab refrigerator and freezer) to stay at the ideal condition and carry out its primary purposes such as protection and preservation of valuable samples, pharmaceuticals, biologics, and other temperature-sensitive products for life science research, diagnostics, and various industries. Esco Lifesciences provides world-class customer support and services in compliance with international standards to keep your equipment working in excellent form.
Routine Maintenance Checklist
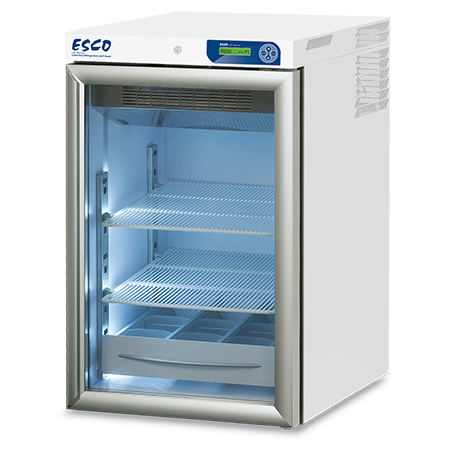
HR1-140S-_
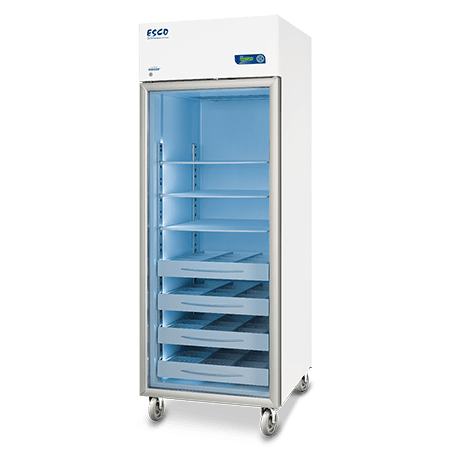
HR1-400S-_
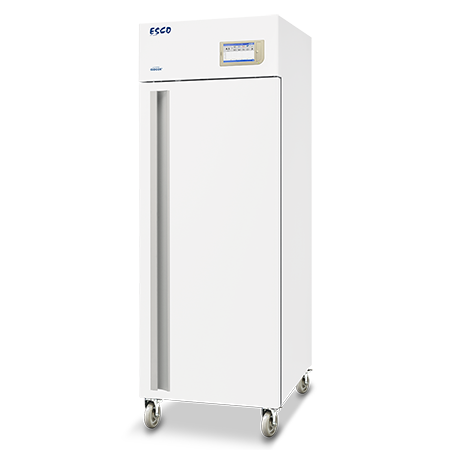
HF2-400T-_
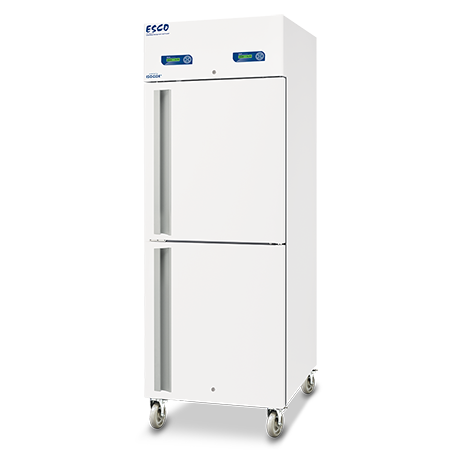
HC6-700S-_
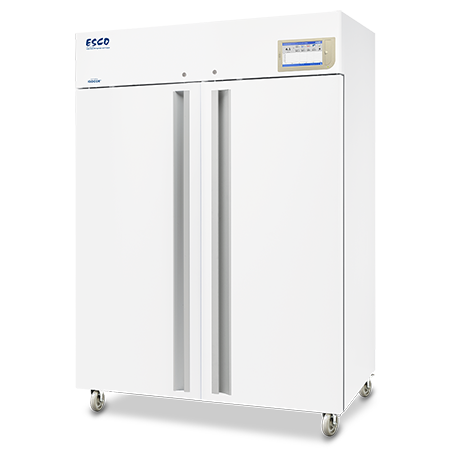
HF2-1500T-_
| Laboratory Refrigerators and Freezers | ||||
|---|---|---|---|---|
| No. | Description of Task to Perform | Maintenance to be carried out every | ||
| Month | 6 months | Year | ||
| 1 | Condenser cleaning | ✓ | ||
| 2 | Cleaning of exterior and interior surfaces | ✓ | ||
| 3 | Alarm checks | ✓ | ||
| 4 | Actual internal temperature check | ✓ | ||
| 5 | Power supply check | ✓ | ||
| 6 | Door seal check | ✓ | ||
| 7 | Battery replacement | ✓ | ||
| 8 | Validation | ✓ | ||
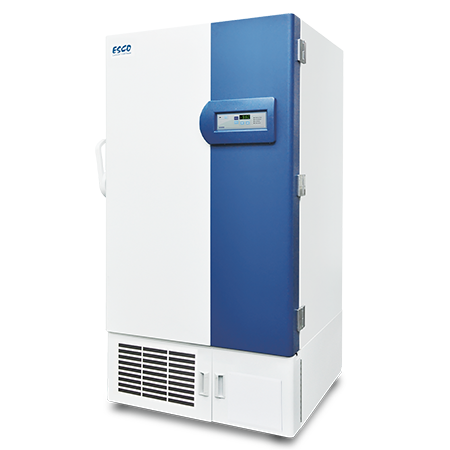
UUS-597A-_-_-SS
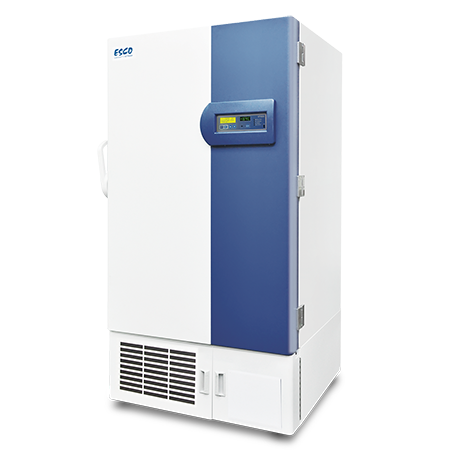
UUS-597B-_-_-SS
| Ultra-low Temperature Freezers | |||||||
|---|---|---|---|---|---|---|---|
| No. | Description of Task to Perform | Maintenance to be carried out | |||||
| As needed | Weekly | Monthly | Quarterly | Biannually | Yearly | ||
| 1 | General cleaning | ✓ | |||||
| 2 | Defrost and cleaning | ✓ | |||||
| 3 | Battery replacement | ✓ | |||||
| 4 | Vacuum relief port cleaning | ✓ | |||||
| 5 | Back-up battery checking | ✓ | |||||
| 6 | Air filter cleaning | ✓ | |||||
| 7 | Door gasket cleaning | ✓ | |||||
| 8 | Condenser cleaning | ✓ | |||||
| 9 | Validation | ✓ | |||||
Cleaning Procedure
General Cleaning
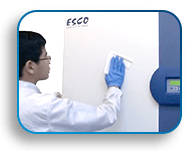
Routine cleaning of the equipment should be carried out. Before delivery, the product is thoroughly cleaned at the factory. It is recommended to clean the interior of the unit before use. Before any cleaning operation, make sure that the appliance power cord is disconnected. Clean the surfaces by wiping them down with a light detergent and water using a sponge.
Condenser Cleaning
Cleaning the condenser is one of the most important tasks to make sure the unit operates properly and efficiently. A clogged condenser often results in poor performance and a rise in power consumption. To clean the condenser, use a household type of vacuum cleaner to vacuum the fins or a dry brush. Make sure you can see through the fins clearly after the vacuum operation is finished. The condenser should be cleaned once every 6 months – or less if the area is dusty.
Air Filter Cleaning*
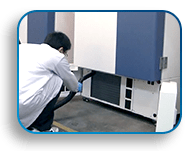
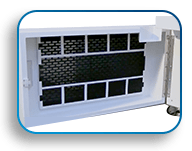
The first line of defense against dust and particles that might be drawn into the condenser are the air filters. To clean the air filter, open the front condenser doors at the bottom, there are two air filters installed. Remove the condenser air filter and wash it in water. Dry out the air filters first before putting it back in the air filter holder. It should be inspected and washed once every 3 months. Replace the filter if it is too dirty or worn out.
Door Gasket Cleaning*
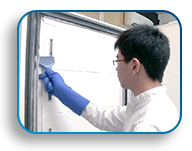
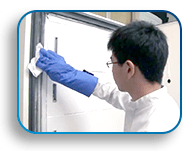
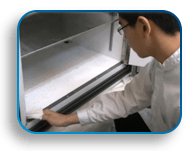
The door gasket is an important part to maintain and seal the unit to achieve proper temperature. Over time, the gasket can get deformed or damaged if not properly kept clean from ice.
To clean off the ice and frost accumulating on the gasket, use a dull plastic scraper to wipe off the ice and frost accumulation that sticks to the ice surface. Wipe off any excess water from the gasket before closing the door. The door gasket should be cleaned at least monthly. More frequent cleaning may be required if dirt or excessive frost build-up prevents the door from closing properly.
Vacuum Relief Port Cleaning*
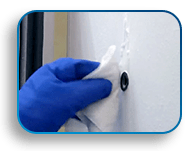
Using a soft cloth, remove any frost build-up from the vacuum relief port at the back of the main door. Cleaning of vacuum relief port should be done regularly, depending on how often and how long the door is opened.
Battery Checking (if applicable)
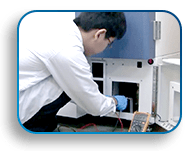
Locate the battery and check its voltage output using a digital voltmeter. If the voltage goes below 12 volts, replace the battery.
Defrosting the Chamber*
To clean up the frost, move all products to another unit that operates at the same temperature as the Esco unit temporarily. Turn off the power on the Esco unit, open the doors to let the unit warm up. Place some towels around the floor of the unit to absorb any melted frost that might run out. Once the unit is thawed, wipe off the water with a towel. Use a mixture of warm water and light detergent to clean the interior and exterior of the unit carefully; do not let water drip into the refrigeration and electrical compartments.
*Applicable only to ULT Freezer
Validation
Internal Temperature Checking
It is recommended to check every 2 years if the temperature inside the compartment is consistent with that shown on the display. To this end, you will need a calibrated tool (RTD or thermocouple). This is applicable only to HP series units.
Maintenance/Service Log
It is good practice (and in some cases regulatory requirement) to maintain a log of all maintenance work carried out on your freezer.
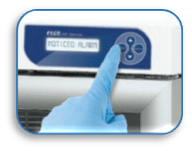
Checking of the Alarm Function (if applicable)
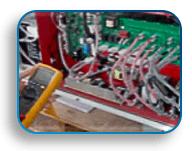
Checking the Electrical Panel
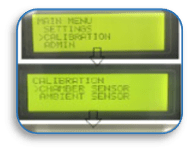
Calibration
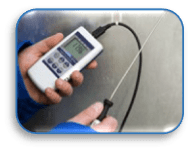
Temperature Mapping
Note: To guarantee optimal performance of the unit, follow indications given by the manufacturer and arrange the preventive maintenance through a qualified technician.
Following the maintenance and installation tips will not only keep the equipment working at optimum performance, but also prolonging its lifespan.
Schedule your maintenance today!
Read more: Cold Storage Services, Selecting the Best Cold Storage Solution